The Definitive how to clean your grill Guide
Picture the scene: a warm summer’s evening, you’ve just been grilling, and cooked everything perfectly – juicy burgers and steaks, perhaps even a nice smoke ring on your brisket, which you marinated overnight. You’ve eaten well, and maybe had a couple of beers too, surrounded by good company. There’s only one thing left to do… clean your grill!
It’s probably the worst part of a grilling session, and perhaps sometimes you might feel a little unsure about what exactly you need to do to keep your grill in top condition. In our ultimate how to clean your grill guide, we’ll show you the most effective ways of cleaning your grill, from simple post-grilling maintenance to a full-on deep clean.
The Real Reason to Clean Your Grill
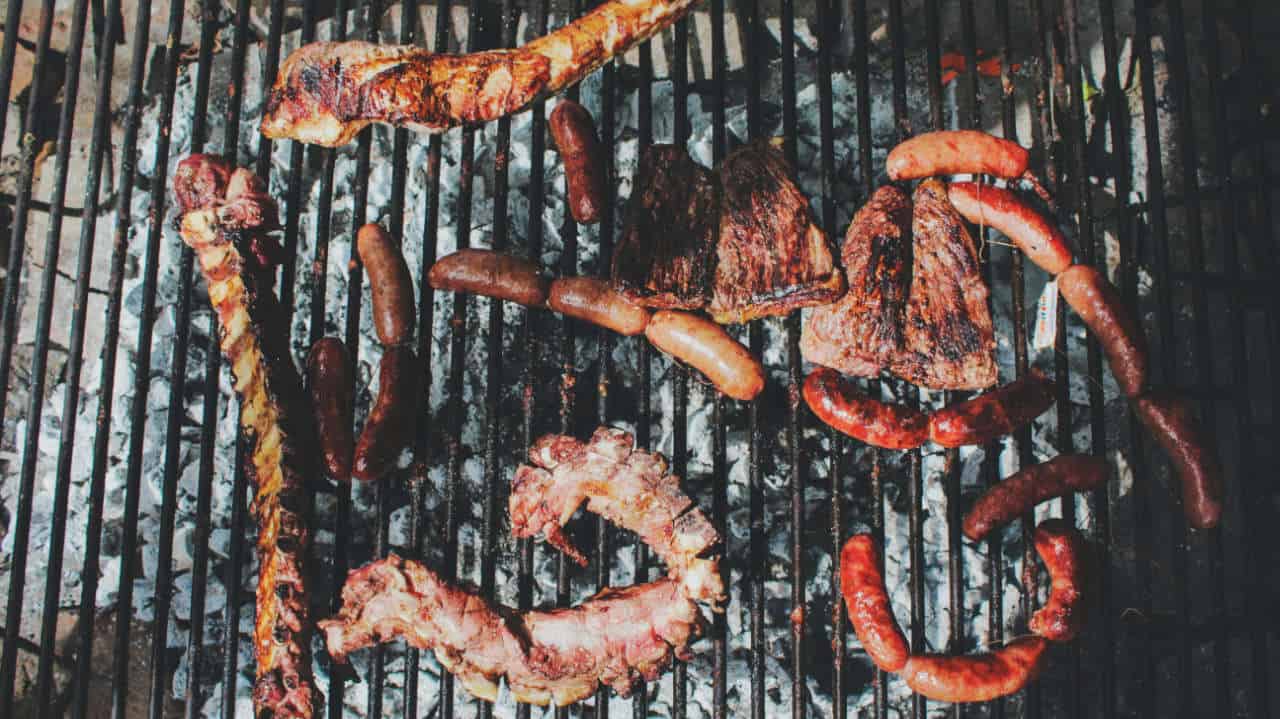
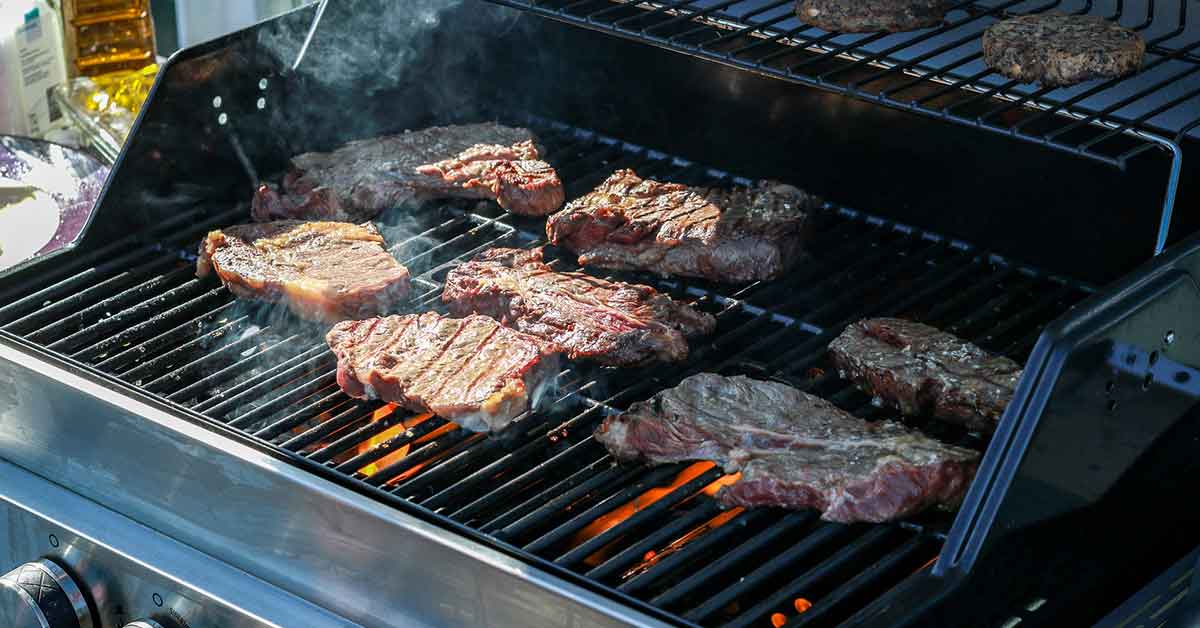
When done right, grilling enhances the flavor of our food giving us smoky meats and wonderfully charred burgers and vegetables. But it’s these exact same processes that can produce carbon deposits on every surface of your grill, from the grates and hood to the firebox, flavorizer bars, and burner tubes.
Carbon deposits aren’t just dirty-looking – they can actually cause greasy or sugary substances to stick more readily to your grill, and these areas can become hotspots for bacteria.[1]
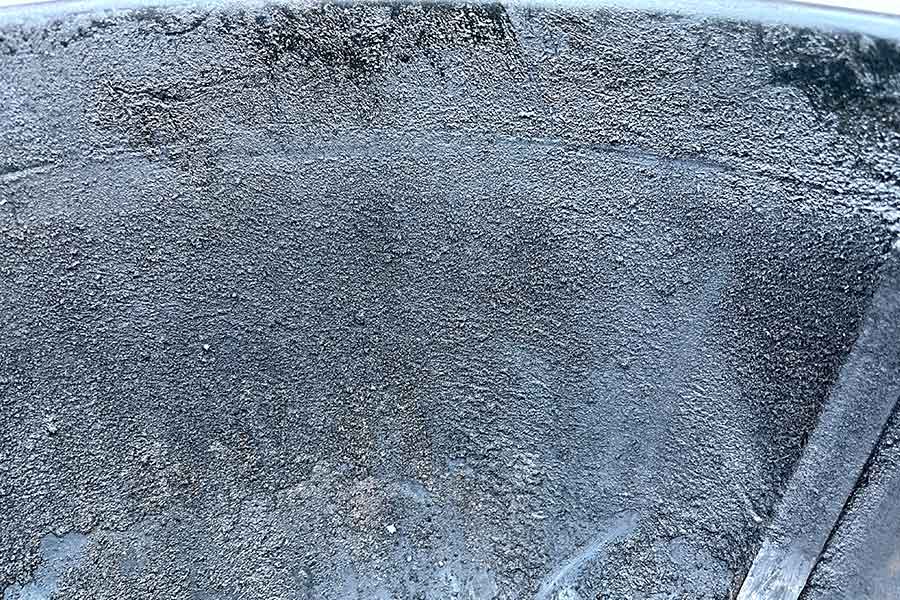
Excessive carbon build-up can even affect your grill’s ability to heat evenly, leading to you not being able to grill at full operating temperatures. Carbon build-up can also cause burner tubes in gas grills to fail prematurely![2]
How Often You Should Clean Your Grill
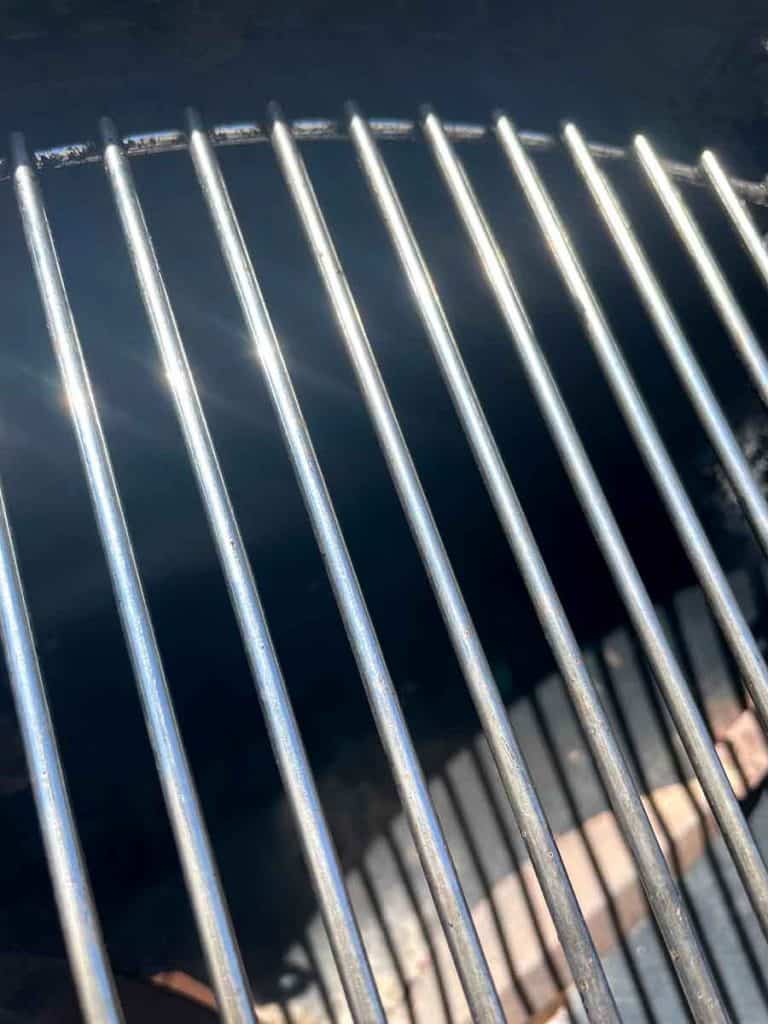
So, how often do you have to clean your grill? For all grillers, we’d recommend using a wire brush to scrub the grates clean after every cooking session. It doesn’t have to be pristine, and this will really help to slow carbon buildup on the grates where it’s most important.
If you haven’t got a wire brush, you can improvise one from scrunched up tin foil, but a proper one with a long handle is well worth the investment. For more grill cleaning hacks, there’s a section later in the article.
As well as a scrub after every session, if you’re a regular griller – once a week or more – try to give the grates a thorough clean every two months or so. Twice every grilling season, you should think about giving your whole grill a deep clean. This will elevate your grilling, and keep your grill lasting longer. More casual barbecuers will benefit from a deep clean about once per season.
If you’re wondering what a deep clean is, we’ll cover that in the next section!
What You Will Need to Clean Your Grill
We always recommend getting everything ready before you start cleaning. There’s nothing worse than getting all ready for a deep grill clean, deconstructing your grill and getting all greasy, only to find that you’re missing some crucial cleaning items!
If you’re not sure what you need, don’t worry – we’ve got you covered with our list of essentials.
What to Use to clean your grill
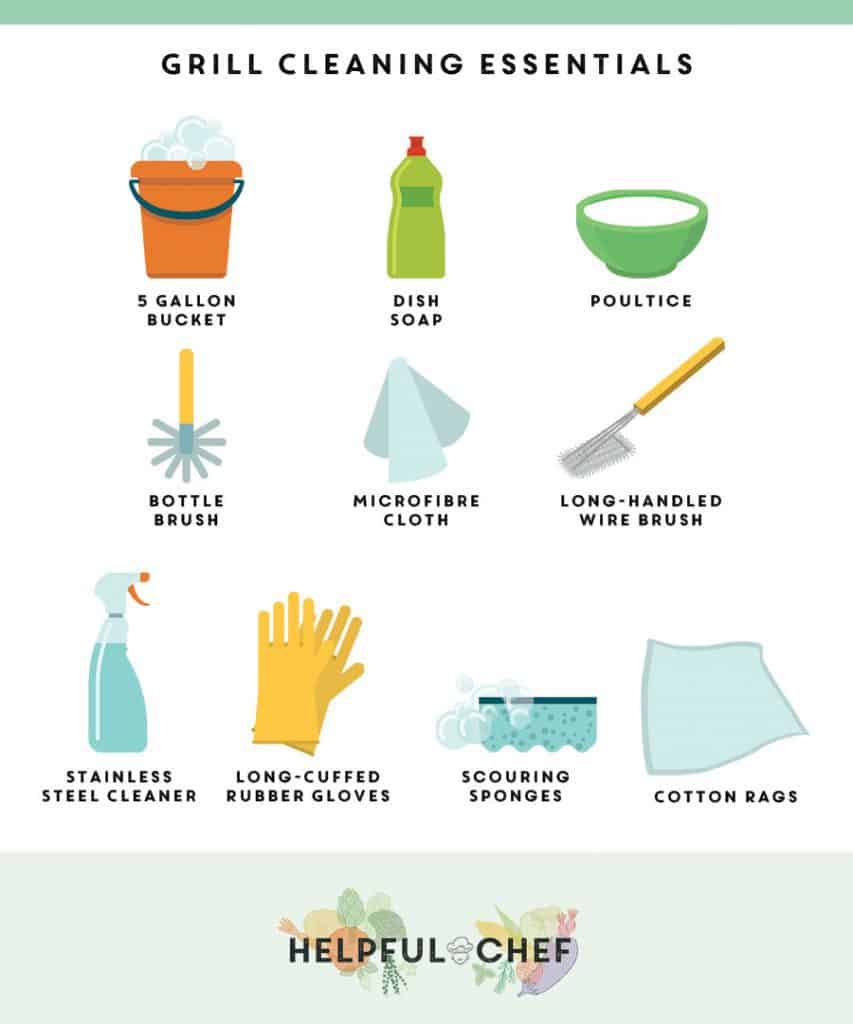
- Long-handled wire brush
- Wire bottle brush
- Putty knife
- 5-gallon bucket
- Warm water
- Grease-cutting dish soap
- Microfiber cloth
- Large sponge
- Poultice of white vinegar and baking soda
- Kitchen towels
- Absorbent materials, such as old newspaper, coffee grounds, or cat litter
- Something to use for waste – a box, an old bin, or anything else you can find
- Porcelain touch-up paint (if your grill has any porcelain parts)
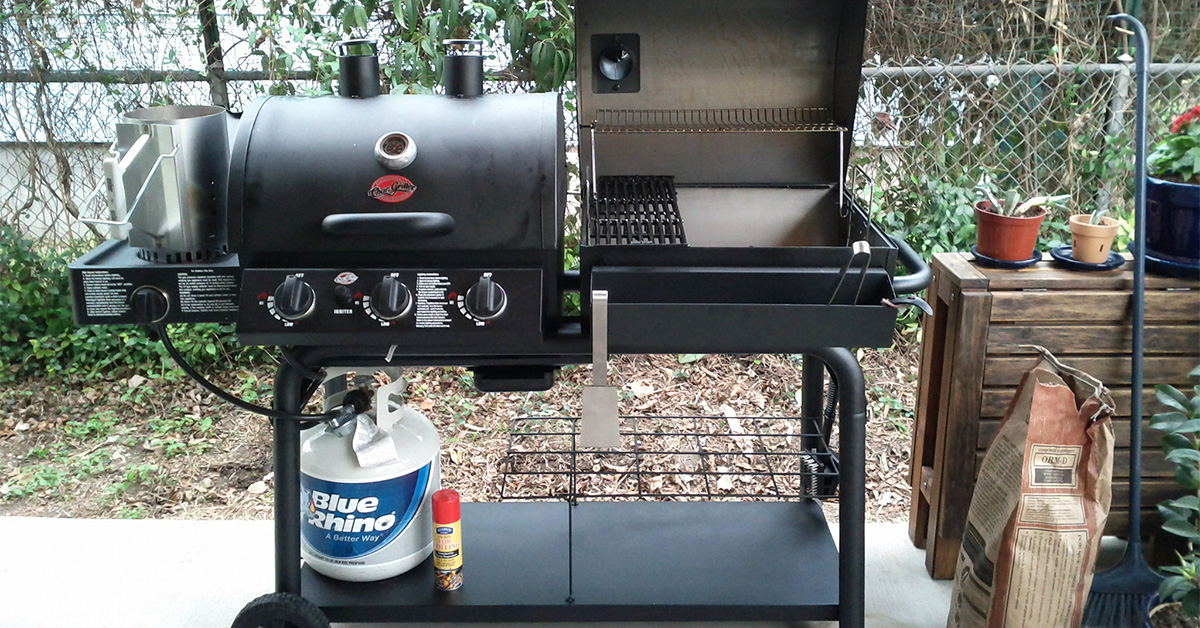
If Your Grill Has a Stainless-Steel Exterior
If your grill has a flashy stainless-steel exterior, you’ll need a couple more bits:
- Stainless steel cleaner
- Rubber gloves (ideally with long cuffs)
- Scouring sponges
- Cotton rags
One quick tip: it’s far easier to clean a stainless-steel grill on an overcast day – the hot sun can make it much more difficult to remove streaks (plus it’s easier to work in the cool too!). If you’re thinking about your first grill or due for an upgrade and think a stainless-steel grill would look good in your yard, check out our comparison of the best stainless-steel grills here.
What to Avoid when cleaning your grill
You might have seen those fancy grill-cleaning kits with loads of different tools. In our experience, these aren’t that great. Often, out of an extensive range of gadgets, only a couple will actually be effective. Most can be substituted for a wire brush – and this has the added bonus of saving you from having to clean up a whole case of tools once you’ve finished too!
Also, make sure you avoid toxic cleaning products such as bleach – of course, these are bad for you if ingested, which is highly likely if you’re putting them on your grill![3] They’ll also make any food you grill taste like horrible chemicals, which is no fun for anyone.
How to Clean Your Grill: Step-by-Step Instructions
Now let’s get stuck in with our step-by-step guide to a deep clean of your grill.
1. Prepare the Grill
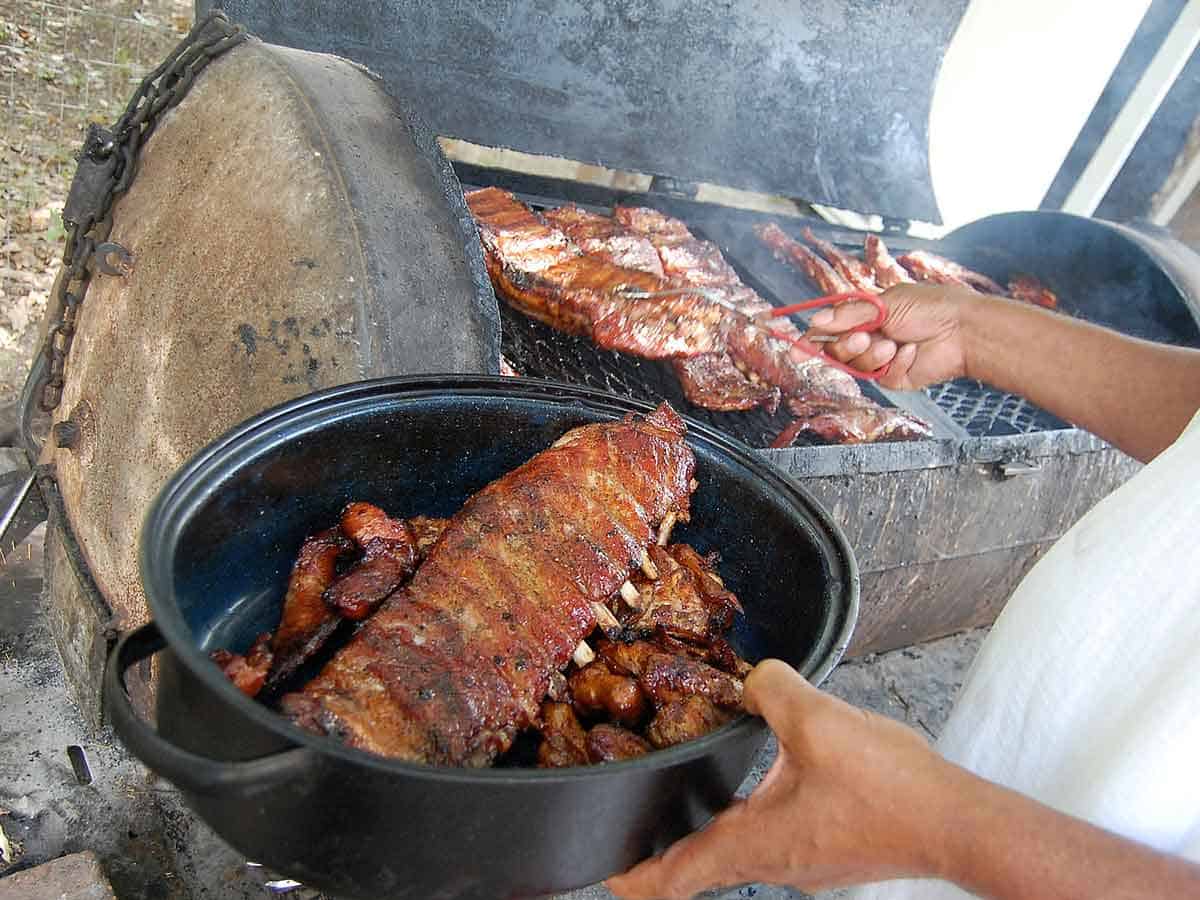
The first step is a little bit of preparation. After getting everything you need ready and nearby, crack open your grill and have a look inside. You’ll want to get rid of any old ash and coals from previous grilling sessions. Usually, the best way is to tip it out into a bucket, then use a damp kitchen towel to pick up anything left over.
2. Scrape the grill
Now, before we start washing, scrape any cooled fats, oils and grease into a container or old newspaper and bin it. If there’s lots of excess oil, it’s often easier to mix it with something absorbent like cat litter or coffee grounds first, then bin that too. It’s definitely worth looking into getting a fat trap to collect waste fats, oils, and grease if you haven’t got one already – some water companies will even offer you one for free.
3. Dislodge stubborn grime
If you’ve got a gas grill, this next step is easy – just fire up your grill! And if you’ve got a charcoal grill, don’t worry, it’s even easier – you don’t need to heat up your grill at all. Heating your grill will help to dislodge certain types of grime, but this isn’t necessary on a charcoal grill – read why below.
3a. For gas grills:
Turn on your gas grill, close the lid, and leave to heat for 30 minutes at full temperature. This should help to singe off any stuck on food or grease. After half an hour is up, dip your wire brush in hot, soapy water and scrub as much carbon as you can from the grates. Then cut the gas, disconnect and remove the propane tank, and wait until your grill is completely cooled. This goes for gas charcoal grill combos too.
Now that the grill has been put out but is still warm, soak some newspaper or kitchen towels in a fresh bucket of hot water, then use them to cover the grill. Shut the lid and leave for half an hour. This trick lets your grill actually steam clean itself: the moisture helps to loosen any grease and grime, which makes the next steps far easier.
3b. For charcoal grills:
No need to heat, unless your grill is extremely dirty! In most cases, you just need to dump the old charcoals in a container, then scrape away any caked-on charcoal dust and debris with your putty knife.
If you’ve fired up your charcoal grill or are cleaning soon after a grilling session, and you aren’t sure if the coals are completely cooled, give them some time to cool by themselves before putting them in a bucket of water. Never put your coals out with water straight away though, as when hot water mixes with ash it creates sodium hydroxide, also known as lye, which can cause chemical burns and even corrode metal.[4]
4. Soak all the elements you can detach from the grill
By this point, your water has probably cooled down a bit. Refill your bucket with warm water and add some grease-cutting soap. Then, remove all of the grates and flavorizer bars from your grill and submerge them in your fresh water, and let them soak for half an hour.
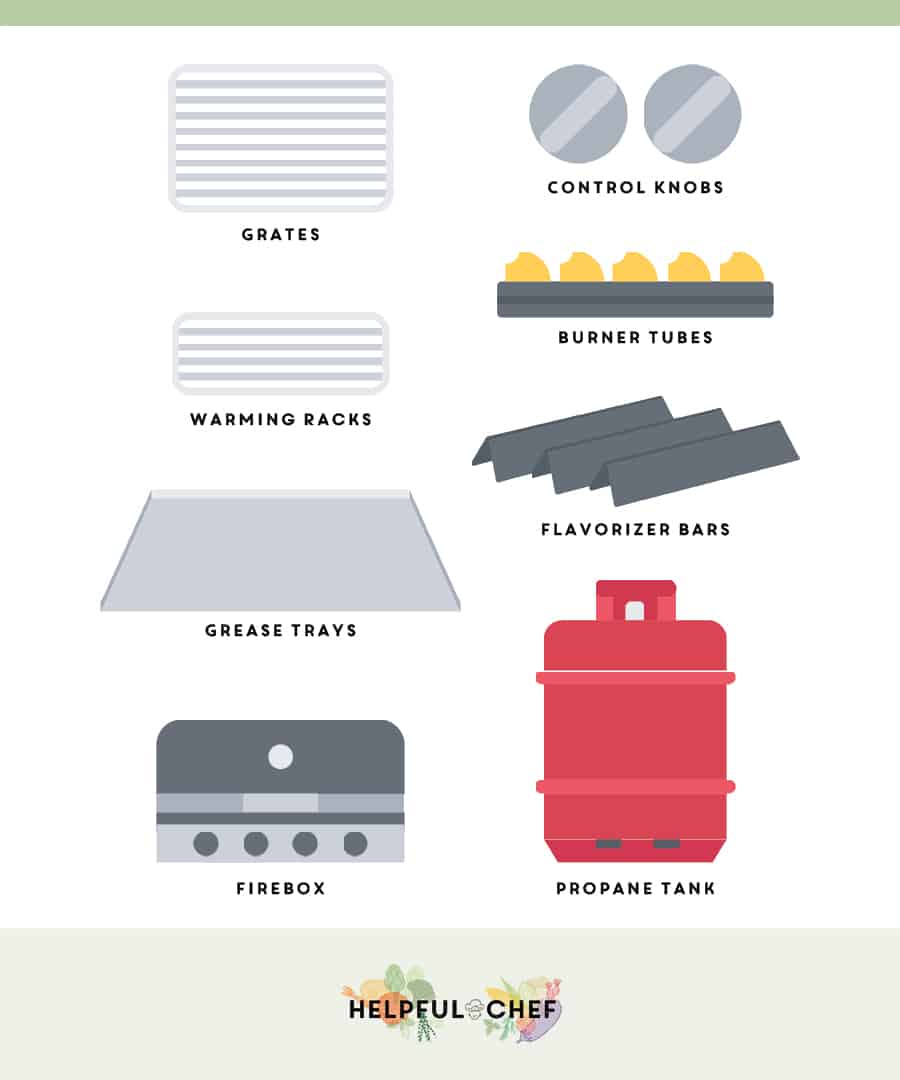
While they’re soaking, use this time to remove anything else you can – control knobs, warming racks, grease trays… basically, anything that will come off! You can also take the burner tubes off of most gas grills: look for a single screw or pin on one end of each tube, remove it and detach the tube. This might seem like a lot of effort, but trust us, compared to trying to work around all of these components, a stripped-down grill is way easier to clean!
5. Scrape and clean the firebox
Stick your trash container underneath the firebox, directly below the grease tray opening, to catch any dirt and water. Then use a plastic putty knife to scrape any visible debris off from the inside of the firebox. After you’ve dislodged what you can, simply rinse it out with a hose or another bucket of water.
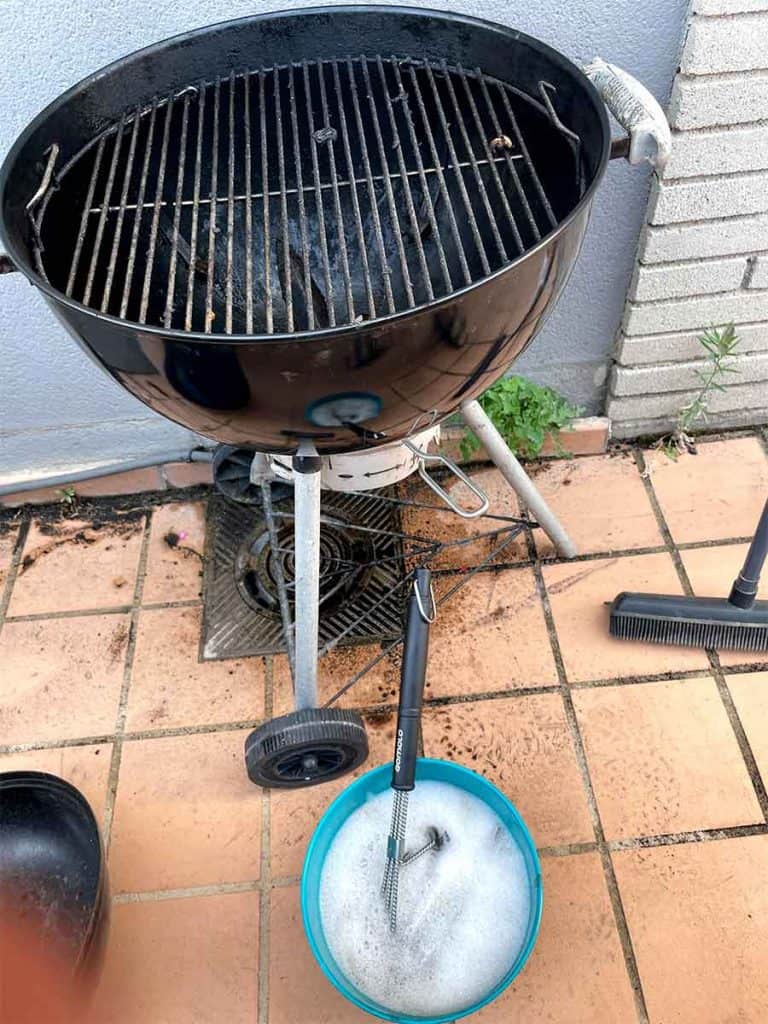
6. Scrub everything you detached from the grill
By now, your grates and flavorizer bars should have been soaking for at least half an hour. Take them out and give them another scrub with your wire brush – the soak should have dislodged some more of those carbon deposits.
At this point, you can use your poultice of white vinegar and baking soda on anything particularly stubborn. No need to overdo it – a little goes a long way! When you’re happy with how everything is looking, give all the parts a final rinse and dry. Any cast iron components, such as some barbecue grates, need to be dried off extra-thoroughly to avoid rusting.[5] If your grate does get rusty, you can check out our guide to fixing rusty grates.
7. Inspect your grill
Now, take a moment to inspect your grill again. Look out for any porcelain components, such as some grates, which may be chipped. These chips can eventually rust, so repair them with a bit of porcelain touch-up paint if you’ve got some to hand (if not, try to get some in time for your next deep clean!)
Have a look at your grease trays, ensuring that they’re clean and in good condition. Be sure to clean or replace your grease trays regularly. This will lower the risk of a fire from grease buildup.
Check your burners too, looking for signs of corrosion or anything blocking the rows of holes where the flames come from. If you haven’t grilled for a while, watch out for spiders’ eggs too![6] Brush back and forth across these holes with your wire brush, then use your bottle brush to clean the inside of each tube as well.
Finally, be sure to check for loose bristles left on the grate every time you use your wire brush. They are a huge hazard, ‘representing a significant safety and health concern’ according to a study in the journal The Laryngoscope.[7]
8. Wipe down your grill’s exterior
Next, wipe down your grill’s exterior with a large sponge dipped in fresh, soapy water. Avoid using steel wool, metal sponges or coarse scouring pads, as these might scratch any finished surfaces.
If your grill has a stainless-steel exterior, use the stainless-steel cleaner instead. Just spray it down, wait for a couple of minutes, then wipe with a clean, dry cloth. If you don’t have any stainless-steel cleaner to hand, white vinegar can also work well.[8]
Then, dry everything off again by giving everything a quick wipe down. We’d recommend a microfiber towel, as they’re super absorbent. It’s often easier to dry your grill off out of direct sunlight, especially for stainless steel grills, to avoid a streaky finish.
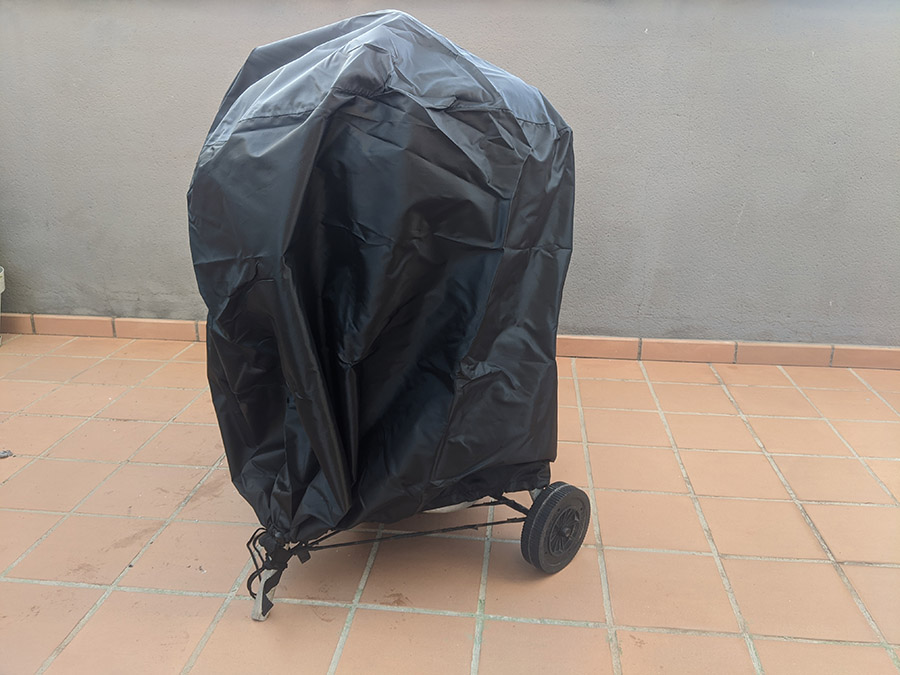
For any grill, we recommend investing in a waterproof grill cover if you don’t have one already. This extra layer of protection can actually have a significant effect on how often you’ll need to clean your grill. Even if you don’t go for a cover, make sure to never leave your grill out in the rain as this could cause serious rusting on any cast iron parts.
9. Final touches
Once everything is clean and dry, all that’s left to do is reassemble your grill. Don’t forget the screw or pin for the burner tubes!
You could go the extra mile and give any cast iron components, like grill grates, a light coating of vegetable oil using a paper towel. This will help to strengthen their seasoning when we heat the grill back up.
Then, if you have a gas grill, reconnect your propane tank, close the grill and check that everything is working. Fire it up and let it heat for 15 minutes. This final burst of heat will also burn off any leftover residue from cleaning products, so they won’t permeate your food next time.
Finally, all you need to do is put your grill back in its proper spot in your yard. You’re finished, and more importantly, you’re ready to grill again!
Grill Cleaning Hacks
Luckily, you won’t need to fully deep clean your barbecue after every grilling session. We recommend giving it a light clean every now and then though, as well as a once-over with a wire brush after every session, to reduce the amount of deep cleans you’ll have to do per season. In this section, we’ll cover a few grill cleaning hacks that you can do after grilling every time.
Onion steam clean
When deep cleaning, the best way to steam clean your grill is with water-soaked newspaper or kitchen towels. However, after a session, you can do a quick and fuss-free steam clean using an onion – chances are you’ll have one nearby. Just stick a half- or quarter onion on a fork and rub it over the still-warm bars – the moisture in the onion turns to steam, which will help to remove any stuck-on food as well. This isn’t quite as effective for cleaning as a proper scrub… but it certainly smells better!
Dishwasher
Any grill components that can be removed and are small enough to fit can be washed in your dishwasher. A pot wash cycle should do the trick if you put the components in when they’re warm from the grill. This will save you having to scrub them down if you’re really not in the mood! Be sure to avoid putting any cast iron parts in the dishwasher though, as this will do way more harm than good, practically guaranteeing that they will rust.
Keep in mind that the dishwasher is not as effective for any old, cooled-down dirt and grime. However, if you generally keep your grill well-maintained, this trick is perfect for when you fancy a night off from cleaning. It’s best to wash your grill parts in a dishwasher load by themselves though, unless you want your glasses and crockery to taste of old barbecue!
Vinegar spray
For an effective home-made grill soak, find an empty spray bottle and fill it with 1 part vinegar to 1 part water. Give it a shake and spray down your grill, then leave it alone for 10 minutes. Refill the bottle with just vinegar, no water this time, and spray again. Then scrub everywhere you sprayed. The vinegar solution will loosen the carbon deposits, making them far easier to remove. Again, just be sure to dry off any cast iron parts extra-thoroughly.
Baking soda
Another great grill cleaner you can make at home just involves baking powder and water. Sprinkle the areas of your grill you want to clean with some baking soda. Then, make a solution of baking soda and water, and use a sponge to scrub your grill with the solution until the baking soda is all gone, taking with it any stubborn carbon.
Summary
Now you know how to get the worst part of grilling over and done with, quickly and easily. We hope that you’ve found something useful in this article to help you out with your grill cleaning. Enjoy your next session – after all that cleaning, you deserve it! For more info on grilling check out our ultimate guide to grills, smokers, and BBQs.
FAQs
Q: Do I need to deep clean my grill right after using it?
A: After the perfect grilling session, we can understand why you might not want to do a deep clean straight away. The good news is, you don’t have to. As long as you give your grill a scrub down with a wire brush after use, you might not need to do more than one or two deep cleans per season!
When you are planning a deep clean, it might be better to do it fairly soon after a session – over the next few days perhaps, so that grease or grime has less time to stick to your grill.
Q: How do I clean rusty grill grates?
A: If your grill’s grates have rusted, you may need to soak them overnight before you start the deep-cleaning process. Put the rusted components in a bin bag and fill with one cup of salt and two cups white vinegar. The salt will increase the acidity of the vinegar, which will help it to corrode the rusted iron.
The next day, before you start your deep clean, remove the grates and try to remove as much of the rust and solution with an old rag. The salt also works as an effective abrasive which will help you remove the more stubborn rust.
In future, the best thing to do would be to ensure that any cast iron components are properly dried after cleaning or being exposed to other moisture.
Q: My burner tubes have rusted and won’t produce an even flame. What do I need to do to replace them?
A: You may be surprised to hear this, but in most cases, even if your gas grill burner tubes appear rusted they will still most likely be fully functional. Give them a brush to try and clear the gas holes, then give them a test. With any luck, they’ll produce an even flame pattern – which means they don’t need replacing yet!
If you’re still getting a weak or uneven flame, check that your burners haven’t cracked or split. In this case, we’re sorry, but it might be time for a replacement. Contact your grill dealer and ask about replacement burner tubes.
References
[1] Jonathan Maes (25 May 2018), ‘What Happens If You Don’t Clean Your Grill?’. Accessed at: https://www.progrillcleaning.com/blog/what-happens-if-you-dont-clean-your-grill/.
[2] Ann Garrison (date unknown), ‘Burner Tubes – Time to Replace? Maybe Not!’. Accessed at: https://www.weber.com/US/en/blog/burning-questions/burner-tubes-time-to-replace-maybe-not/weber-30077.html.
[3] Organic Consumers Association (date unknown), How Toxic Are Your Household Cleaning Supplies? Accessed at: https://www.organicconsumers.org/news/how-toxic-are-your-household-cleaning-supplies.
[4] CDC (21 June 2019), ‘Sodium Hydroxide’. Accessed at: https://www.cdc.gov/niosh/topics/sodium-hydroxide/default.html.
[5] Monroe Engineering (24 October 2019), ‘Why Iron Rusts (And How to Prevent It)’. Accessed at: https://monroeengineering.com/blog/why-iron-rusts-and-how-to-prevent-it/.
[6] Lisa Freedman (23 June 2017), ‘The Creepy Reason Your Gas Grill May Be Getting Hard to Light’. Accessed at: https://www.thekitchn.com/the-creepy-reason-your-gas-grill-may-be-getting-hard-to-light-245106.
[7] Evan J Harlor, Timothy L Lindemann, Thomas L Kennedy (2 July 2012), ‘Outdoor grilling hazard: wire bristle esophageal foreign body–a report of six cases’. Accessed at: https://pubmed.ncbi.nlm.nih.gov/22752993/.
[8] The Maids (30 July 2020), ‘The Do’s and Don’ts for Cleaning Stainless Steel’. Accessed at: https://www.maids.com/blog/cleaning-stainless-steel/.